Regardless of your feelings towards drum samples, you can’t deny that they’re omnipresent in modern music production. Everyone’s taking advantage of them to compete for the biggest larger-than-life drum sound, and, unless you’re lucky enough to work with ridiculously amazing drummers all the time, it almost seems like they’re starting to become a necessity if you want competitive productions.
That being said, drum triggering can be a time-consuming process. If you’re working with an inconsistent performance, then you have to manually comb through every hit to make sure your triggering software is picking everything up. If you’re like me, you’ll also convert those hits to MIDI so you can have as much control over them as possible. Then you have to find a sample, or samples, that fit with the song and load them up.
While there’s really no way to get around going through your drum tracks and making sure everything is triggering properly, I have a method for making sample selection really fast and easy and I’m super pumped about it. Here are the steps you can use to set this up for yourself! If you have trouble following what I’m saying, just watch the video below so you could see it all in action.
1. Determine What Triggering Software You’ll be Using
You’ve probably already done this, but it’s still important.
For creating MIDI for each of my drum hits I actually prefer the Tracking feature inside of Superior Drummer 3. This allows you to scroll through your drum tracks one by one at your own pace. You can see every transient, and a detection marker in the form of a blue line appears on top if it’s properly getting picked up. It’s pretty accurate for the most part, although I do find myself making adjustments sometimes.
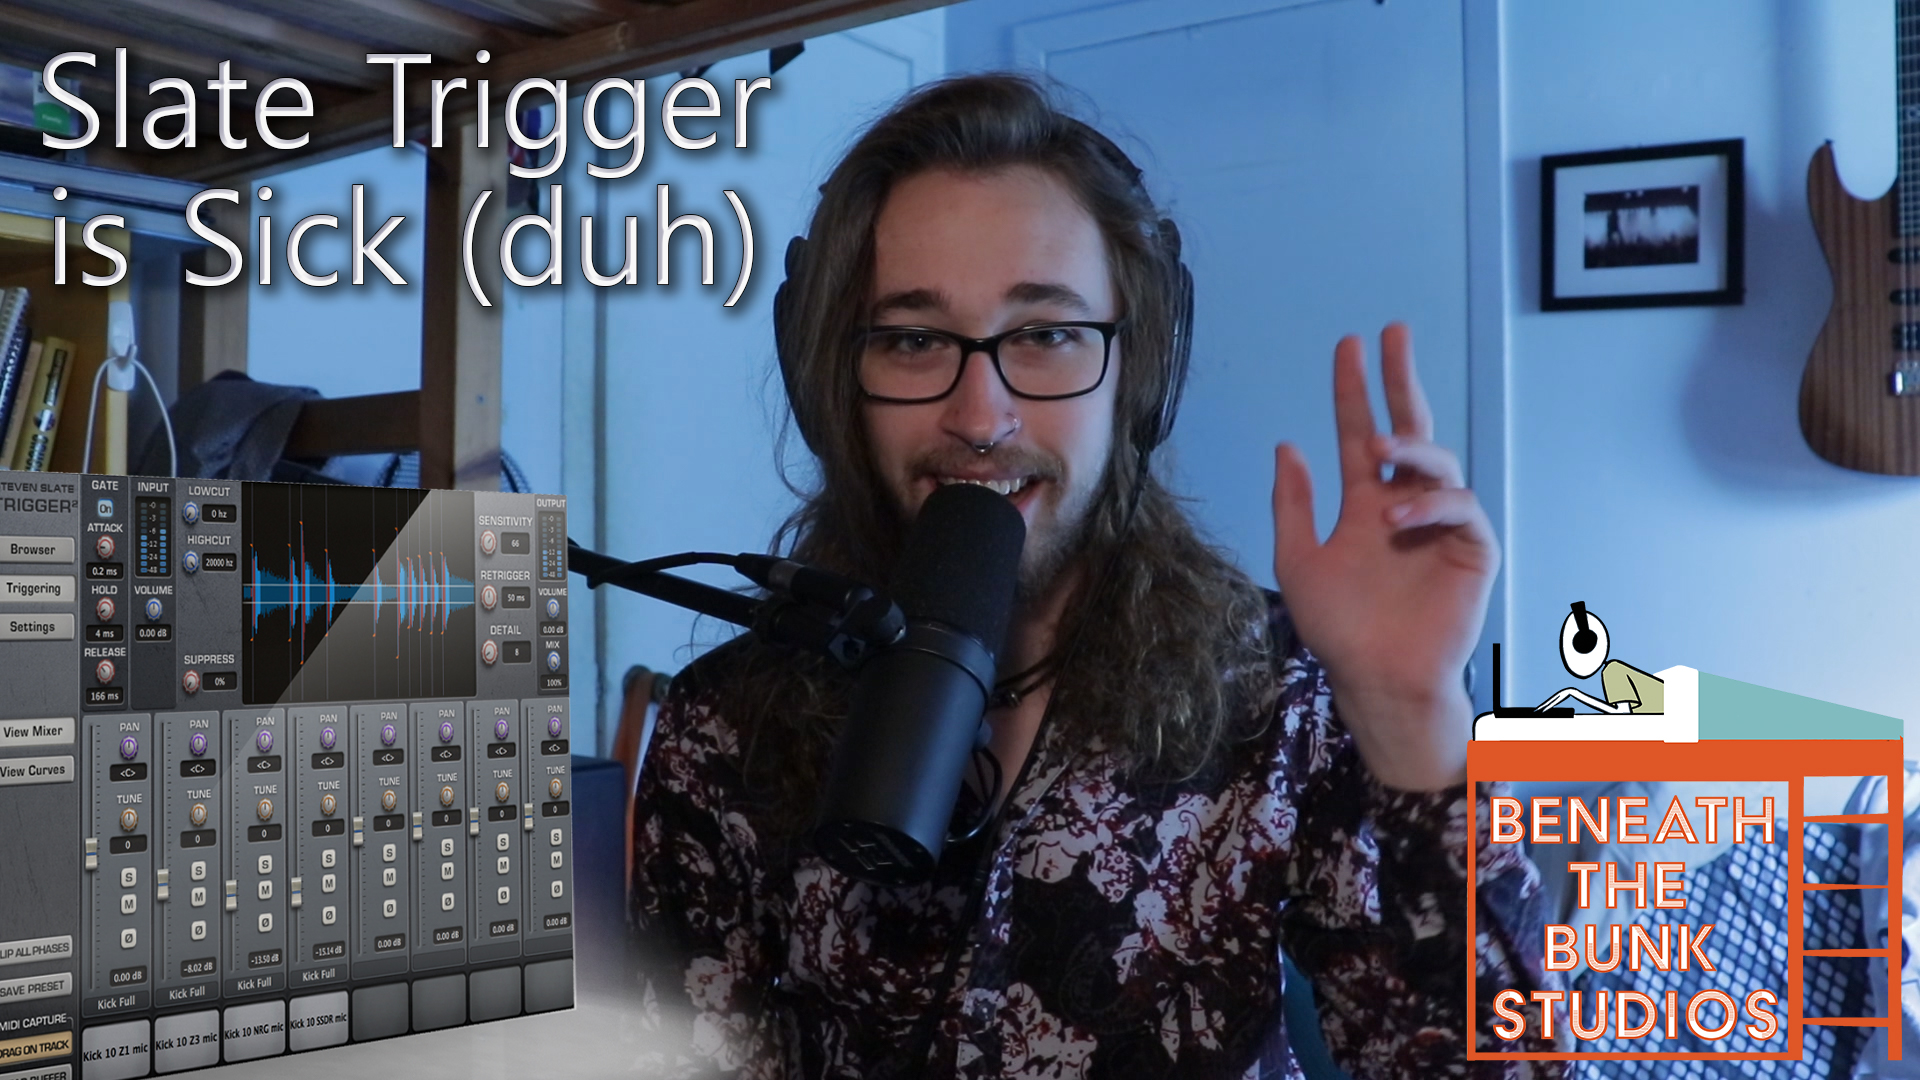
Once I’ve got the MIDI from my drum hits, I load that into Slate Trigger 2. That seems to be the standard, and it has been for quite a while, but Drumagog is another somewhat popular option. I’ve never used it, so I don’t have an opinion on it.
2. Find Your Favorite Drum Samples
Ideally, you already have your favorite samples put together in a “favorites” folder on your computer. If you don’t, you should! Try and make sure each one sounds a little different from the next so you always have some variety.
For this workflow, you’ll need 8 multi-sampled drum samples for each kit piece (kick, snare, and toms), and 8 one-shot drum samples for each kit piece.
3. Load Your Favorite Drum Samples into Your Triggering Software
In my case, since I’m using Slate Trigger 2, I’m limited to 8 samples per instance. So, I have 8 kick samples, 8 snare samples, and 8 samples for each of my toms. All of them sound different from one another so that I’m ready for any situation.
Like I said before, you will need to separate your multi-sampled drums from your one-shots in separate instances of your triggering software to make this work.
4. Determine What Samples Go Together
This will be the most tedious and least fun part, but I promise that it’s so worth it. We’ll start with your multi-sampled drum samples.
Multi-Samples
Make sure the faders on all of your snare samples, for example, are pulled all the way down except for one of them. Program a simple snare pattern, tell your DAW to loop it, and instantiate an EQ after your Trigger instance. Any EQ will work, but one that has a spectrum analyzer will make this easier. Now to find the fundamental of your snare sound.
While your snare is looping, take an EQ band and make the Q value, or width, very narrow. Boost the low-mids of your snare, usually around 200Hz, until you hear a very distinct tone sustain long after the snare is hit. If your EQ has a spectrum analyzer, just look for the peak that is lowest in the snare’s frequency range. Once you’ve found the frequency, keep the EQ boosted and stop your loop. It sounds horrible, I know, but we’ll turn it down eventually.
One-Shots
Next, copy that EQ instance to an insert slot that’s after the Trigger instance you’re using for your one-shot samples. Once again, make sure all the faders for all the samples are all the way down except for one of them. For this part, you will want to pick a snare that sounds like it’s tuned similarly to the multi-sampled snare you just worked on, but it doesn’t have to be spot on.
I also recommend that you make whatever one-shot you choose sit in the same slot as the multi-sampled drum sample you just worked on. For example, let’s say you just worked on a multi-sampled drum sample that’s in the first slot in your Trigger plugin. Put the one-shot that you’re about to work on also in the first slot so you can easily tell that they go together. Remember to do this for the second, third, fourth, etc. slots too.
Again, program a simple snare pattern (you can even use the one you just used again) and loop it. Look at the boost on the EQ that you copied over and determine if it’s properly boosting the one-shot snare’s fundamental. If it is, then you’re done with this part, but if it’s not then you need to turn the sample’s tune knob up or down until it is. If you find yourself having to dramatically tune it to get the two to match, then consider trying out a different one-shot sample.
Once that’s done make sure the samples are in phase with one another. Use the phase switch to flip the phase on the one-shot sample’s channel. If you do that and you hear everything sound like it just got much beefier and low-end heavy, then it means you need to keep the phase flipped because the two were out of phase. If the opposite happens and you hear your snare sound get much thinner, then leave the phase flip button off.
Repeat all of these steps with each sample for your kick, snare, and toms.
5. Test it Out
If you did this right, you should be able to play both snares at the same time and slowly drag the fader for your one-shot up while hearing your snare get beefier and beefier. With the right blend, it should sound like one cohesive snare sound, rather than 2 snare samples playing at the same time.
Repeat with each sample for your kick, snare, and toms.
6. Build These Trigger Instances into Your Mixing Template and Enjoy!
Were you given MIDI for a snare, for example, and no snare track? Quickly drag the snare MIDI onto your multi-sampled snare and your one-shot snare and easily test out combinations that you like. The sample on the fader on your multi-sample instance of Trigger will go with the sample that’s on the second fader of your one-shot instance, meaning you could quickly audition all sorts of combinations in context!
Not working with 100% programmed drums? That’s fine! You still have an assortment of samples that go together, all of which you can use to beef up the live snare you’re working on. Just remember to tune the one-shots and multi-samples proportionately to one another so that they go with the tuning of your live snare.
I hope you got something out of this! If you did, be sure to sign up for the Beneath the Bunk Studios Newsletter for updates on new blog posts and videos by clicking here. Also feel free to click/tap any of the circle icons below to follow me elsewhere.
Let me help inspire you to create stuff 🙂


