
Like it or not, vocal editing has become an integral part of modern music production. Whether, in the case of sung vocals, you’re doing pitch correction, or, in the case of screams, you’re mainly focusing on time aligning things, you can’t be afraid to be meticulous.
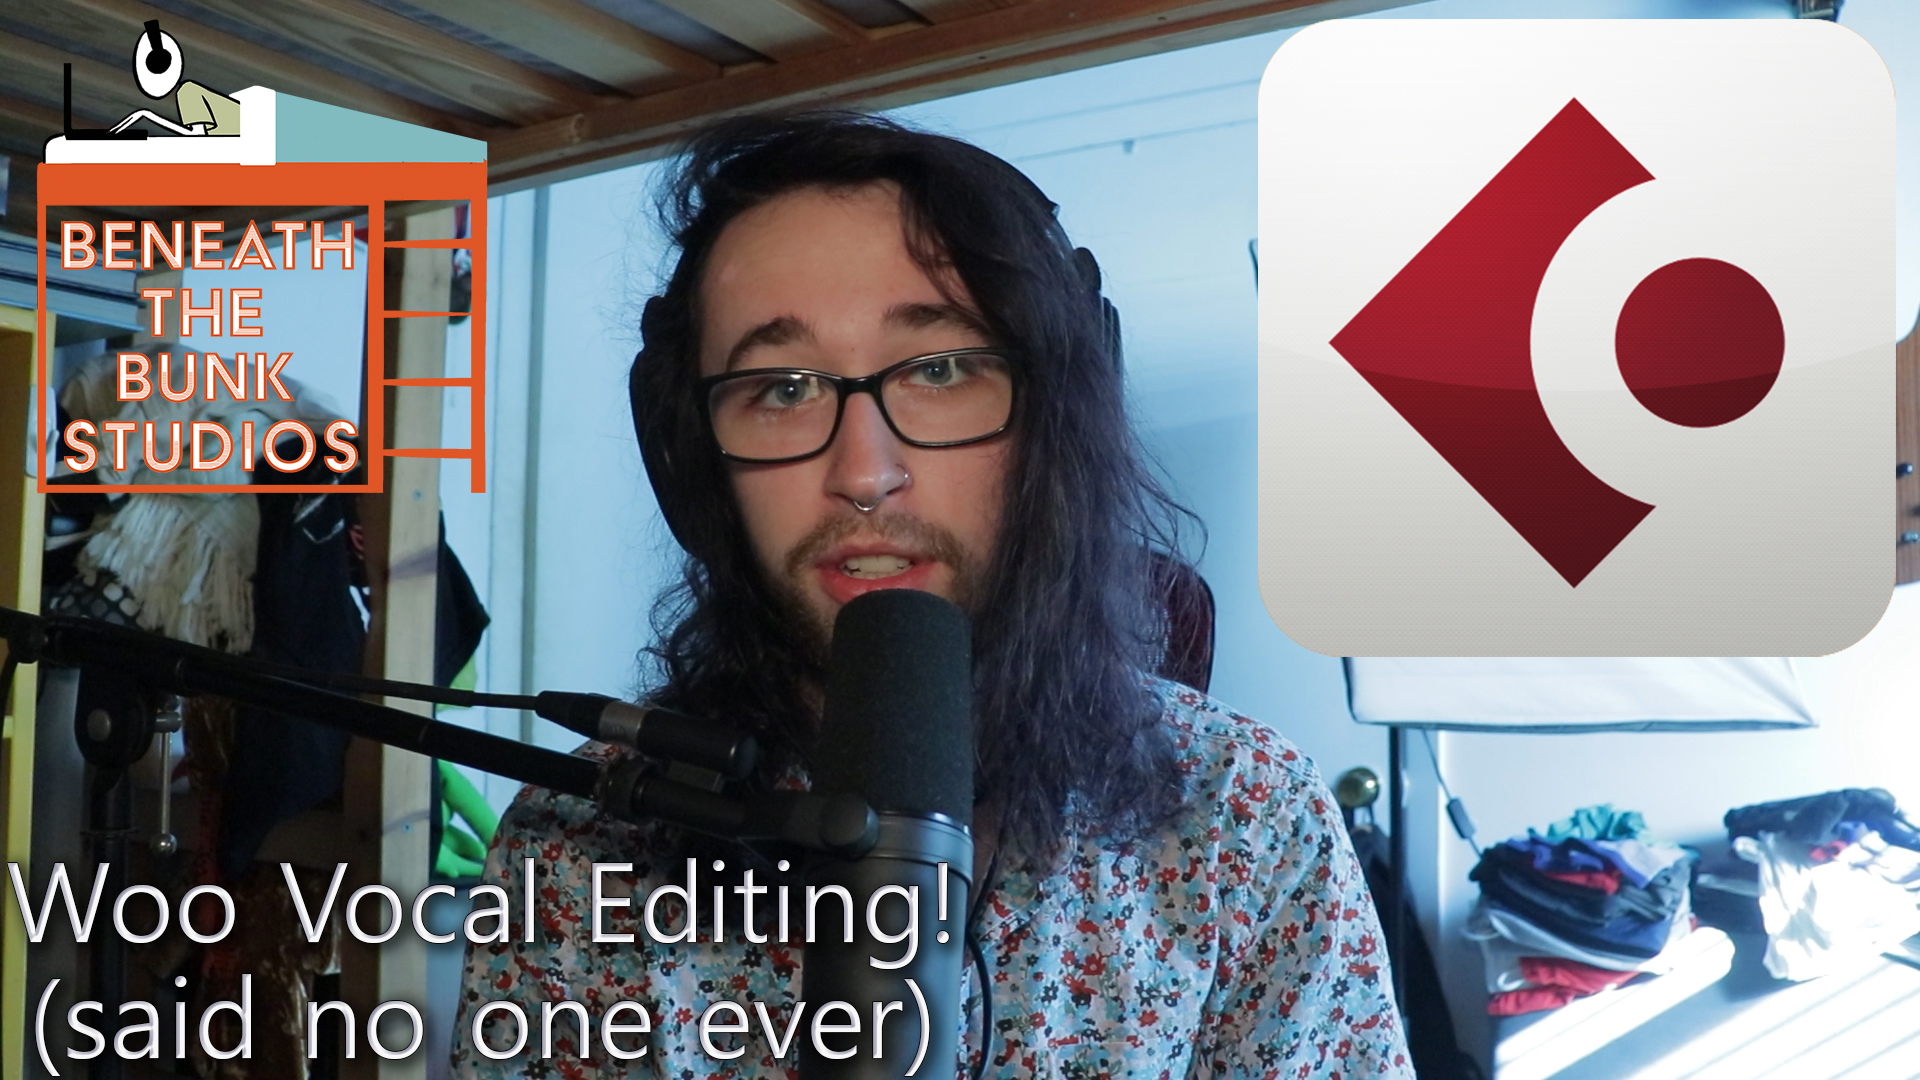
In today’s post and video, I’m talking about the latter! I’ll be working in Cubase 10.5 Pro to show you my vocal editing process for layered screamed vocals, but the concepts are transferrable to any DAW.
I recommend watching the video at the bottom of this page to get the most out of this, as it’ll allow you to see everything in action. It’s a bit long and pretty in depth, though, so here’s an outline of all the concepts I discuss in it. For more details on any of these concepts, watch the video!
An Outline of My Process for Editing Screams
Important steps to take before starting to edit
- Make sure you’re editing vocals alongside an already edited instrumental
- Applying a simple vocal chain with a compressor and an EQ on all the vocals that you’re editing
- If your vocal is uncompressed and bad sounding while editing, it’s harder to hear problems that could become more obvious during the mixing phase
- Adjust the clip gain of all your vocals so that the waveforms of all your audio appear to be approximately the same size
- Don’t drive yourself crazy trying to match exact numerical values between tracks, you’ll only frustrate yourself and head down an unnecessary rabbit hole
- This is a step that you’ll be happy you did when it comes time to mix. If all your vocal tracks are playing at approximately the same volume, it’ll be really easy to copy and paste compression settings, for example, from track to track
- If needed, feel free to turn up or turn down individual words if they appear to be dramatically quieter or louder than the rest of the vocals on the tracks. At the same time, be sure to listen back to make sure you aren’t changing anything to dramatically and/or making anything sound weird
- Cut out miscellaneous noise and blank space
- Make sure that you’re ditching any weird mouth noises, unwanted breaths, or other miscellaneous sounds that are audible in between lines
- Always remember that your vocals, and overall mix, will likely be compressed pretty aggressively at some point. If these noises are still there when that happens, they will likely become louder and more apparent
Using Slip Editing to Adjust the Timing of the Main Vocal
- Remember that the end goal is to align all of your layers and dubs with the main vocal. As a result, your first priority needs to be to make sure that the main vocals are in time with the instrumental
- If you’re working in Cubase, use CTRL + ALT + Drag/CMD + OPT + Drag to make slip edits quickly
- Slip editing is a really great editing technique in that it allows you to manipulate the timing of audio within a clip without actually moving the clip itself
- Make sure you’re editing the timing of the main vocal while the other vocal layers are muted. Layers that are flamming up against each other are more likely to make things sound out of time, even when they aren’t actually out of time
Using Slip Editing to Adjust the Timing of the Dubs and Layers
- Once my main vocals are all cleaned up and time aligned, it’s time to go through the same very tedious process for the layers and dubs
- Oftentimes, I will try to use VocAlign for this because of how fast it is, but if your vocals are too out of time then VocAlign will not work
- If you’re working with panned dubs and layers, put them in the center of the stereo field while you’re editing. This will make it easier to hear timing errors between tracks
- Avoid having more than one unedited layer at a time playing alongside your already edited tracks
- If you have too many unedited vocal tracks playing at one time, it becomes impossible to tell which track has the timing issues on it
Using VocAlign to Adjust the Timing of the Dubs and Layers
- I almost always use VocAlign after I’m done slip editing my vocal layers by hand
- This isn’t always an essential step of the process, but I really like the extra layer of tightness that VocAlign adds
- If you are using VocAlign, don’t be afraid to change the algorithm within the plugin
- For example, let’s say you’re trying to align 2 vocal tracks, one is a main vocal and the other is a dub. The performance on the dub track extends far beyond the performance on the main track. In this case, changing the algorithm to “maximum compression” could help you align the two tracks more efficiently
Consolidate All Your Edits
- To make your session a little easier on the eye and a little easier on your CPU, it’s a good idea to consolidate all of your clips together once you’re done editing
- Before doing this, make sure all of your fades are properly placed and that you aren’t rendering any weird artifacts into the audio
- Cubase’s “auto fades” feature makes this step super easy, as it creates crossfades for you. It works well, too. I rarely ever make my own crossfades manually
- If you’re a Pro Tools user, use the “batch fades” feature to expedite this step of the process
I hope you got something out of this! If you did, be sure to sign up for the Beneath the Bunk Studios Newsletter for updates on new blog posts and videos by clicking here. Also feel free to click/tap any of the circle icons below to follow me elsewhere.
Let me help inspire you to create stuff 🙂